Every photo you’ve posted, every message you’ve sent, and every ad interest Facebook has tagged you with lives inside a file you can actually request and download.
Facebook lets any user export a full copy of their account data, whether the goal is backing up old memories, switching platforms, or simply seeing what the company has stored.
This guide walks through exactly how to download your data on Facebook, what the file actually contains, and how to choose the right format for what you plan to do with it.
Why You Might Want a Copy of Your Facebook Data
There are a handful of common reasons people request this download.
Some want a backup of years of photos and posts before deactivating or deleting their account.
Some are moving to a new platform and want their content and contacts in a portable format.
Others simply want to see exactly what categories of information Facebook has collected, including ad preferences and login history.
Whatever the reason, the process is the same, and it’s available to every user for free.
How to Download Your Data on Facebook (Mobile App)
Step 1. Open the Facebook app and tap your profile picture in the top right corner.
Step 2. Scroll down and tap Settings & privacy, then tap Settings.
Step 3. Tap Accounts Center at the top of the settings menu.
Step 4. Tap Your information and permissions.
Step 5. Tap Download your information.
Step 6. Select which Facebook profile to export, if you manage more than one.
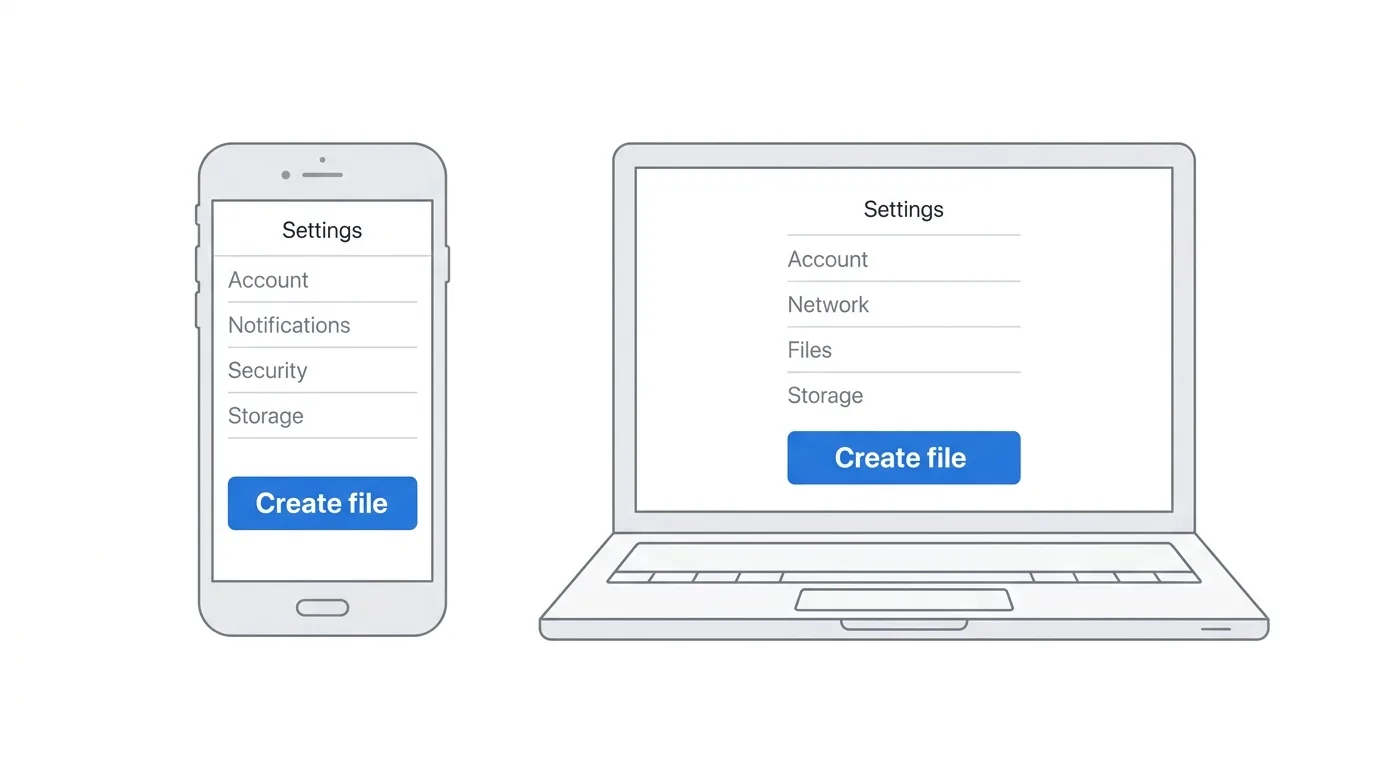
Step 7. Choose the date range, format, and media quality for your export.
Step 8. Tap Create file to start the request.
Facebook will notify you once the file is ready, which can take anywhere from a few minutes to a day or more depending on how much content is in your account.
How to Download Your Data on Facebook (Desktop)
Step 1. Log into Facebook on a web browser.
Step 2. Click your profile picture in the top right corner, then click Settings & privacy.
Step 3. Click Settings.
Step 4. Click Accounts Center in the left sidebar.
Step 5. Click Your information and permissions, then click Download your information.
Step 6. Pick your date range, file format, and media quality.
Step 7. Click Create file.
You’ll get a notification and an email once the export is ready to download, at which point it appears in the same Download your information section.
Choosing the Right Format: HTML vs. JSON
Facebook gives you two format choices, and picking the right one matters depending on what you plan to do with the file.
HTML Format
This format is built to be opened directly in a web browser, styled to look similar to how the content originally appeared on Facebook.
Choose HTML if you simply want a readable, browsable archive of your account.
JSON Format
JSON is a raw, structured data format meant for developers or for importing into another tool or platform.
Choose JSON if you’re transferring your data somewhere else or plan to process it programmatically.
If you’re not sure which you need, HTML is the more user-friendly option for casual browsing.
Selecting a Date Range
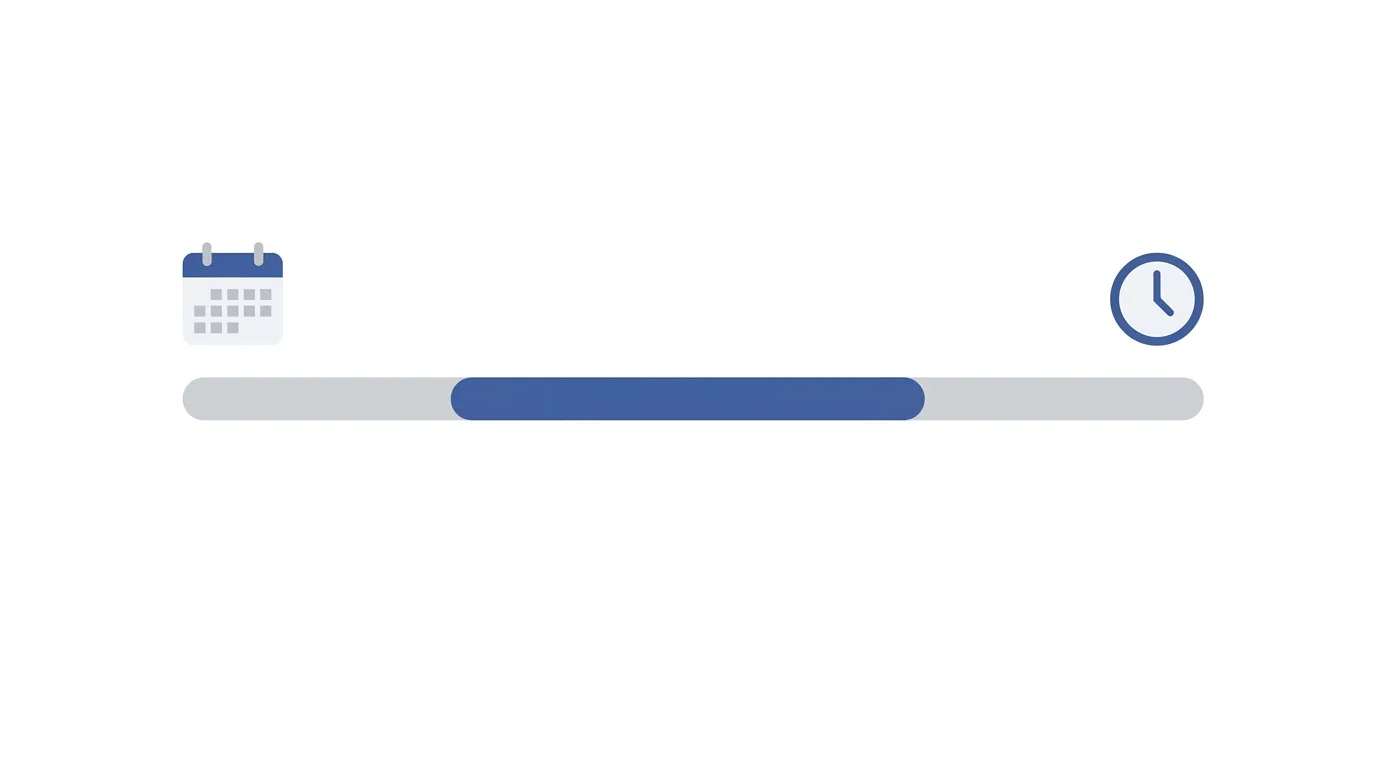
By default, Facebook offers to export your entire account history from the day you joined.
You can narrow this to a specific date range instead, which is useful if you only want, for example, the last year of activity rather than a full account history going back over a decade.
Narrowing the range also produces a smaller file that’s ready faster and easier to review.
What’s Actually Included in the Download
The export can include a wide range of categories, and you can choose which ones to include or exclude before generating the file.
Common categories include:
Posts, photos, and videos you’ve shared.
Messages sent and received through Messenger.
Your friends list and follower/following history.
Comments and reactions you’ve left on other posts.
Ad interests and the advertisers who have your contact information.
Login activity, including devices and locations used to access your account.
You can deselect categories you don’t need before generating the file, which also speeds up processing.
How Long the Export Takes
Processing time depends heavily on how much content is tied to your account.
A newer account with light activity might be ready in minutes.
An account with over a decade of photos, videos, and messages can take considerably longer, sometimes up to a day.
Facebook will send a notification and typically an email once your file is ready, so there’s no need to keep the app open and wait.
Downloading the Finished File
Once your export is ready, return to Download your information inside the Accounts Center.
You’ll see your completed request listed with a Download button next to it.
Depending on the size, the file may be split into several parts. Facebook will prompt you for your account password again before letting the download begin, as a security check.
Troubleshooting: Export Stuck or Failed
If your export seems to be taking far longer than expected, try these steps.
Check your notifications and email. The completion alert sometimes arrives without an in-app badge showing.
Narrow your date range. A full-history request with all media included is the slowest option. Requesting a shorter range or lower media quality can speed things up significantly.
Try again from a different device. Occasionally starting the request fresh resolves it if the first attempt seems stuck.
How To Change Your Username on Discord
Final Thoughts
Downloading your data on Facebook is a straightforward way to back up years of content, understand exactly what the platform has stored about you, or prepare to move your information elsewhere.
Choose HTML if you just want to browse your history, or JSON if you’re feeding the data into another tool.
Narrowing your date range and media quality will get you a smaller, faster file if you don’t need a complete archive going back to day one.
